| Step-by-step instructions for setting up email on Windows Phone. |
|
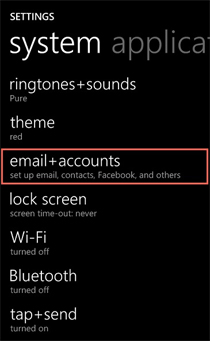
| Open Settings |
| Step 1. Open your email+accounts |
|
 |
|
|
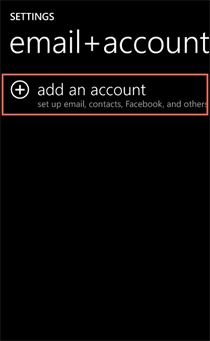
| Open Settings |
| Step 2. Choose add an account |
|
 |
|
|
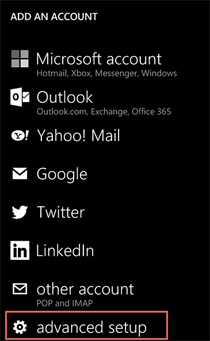
| Add An Account |
| Step 3. Choose advanced setup |
|
 |
|
|
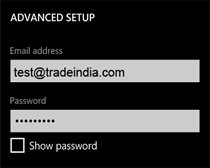
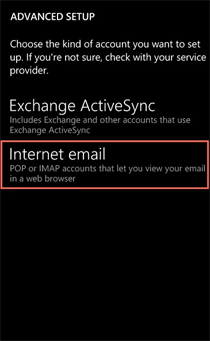
| Advanced Setup |
| Step 4. Enter your Email address and Password |
|
 |
|
|
| Advanced Setup |
Step 5. Tap Next
Choose Internet email |
|
 |
|
|
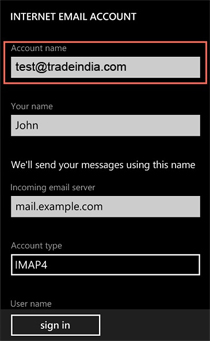
| Internet Email Account |
Step 6. Enter an Account Name, this is how the account will be identified later.
|
|
 |
|
|
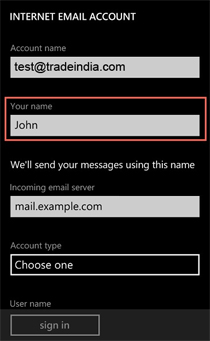
| Internet Email Account |
Step 7. Enter Your name, as you would like it to appear in your emails.
|
|
 |
|
|
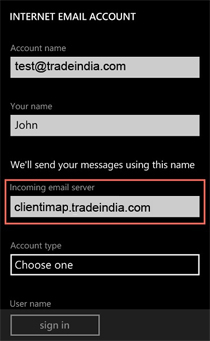
| Internet email Account |
Step 8. Enter clientimap.tradeindia.com as the Incoming email server
|
|
 |
|
|
| Internet email Account |
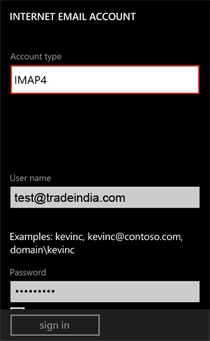
Step 9. Choose IMAP4 as the Account Type.
|
|
 |
|
|
| Internet email Account |
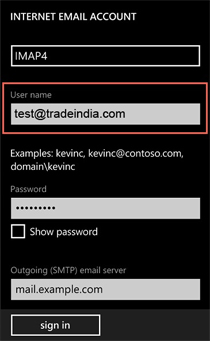
Step 10. Enter your full email address as the User name
|
|
 |
|
|
| Internet email Account |
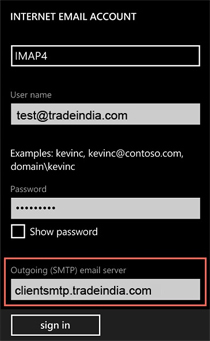
Step 11. Enter clientsmtp.tradeindia.com as the Outgoing (SMTP) email server
|
|
 |
|
|
| Internet email Account |
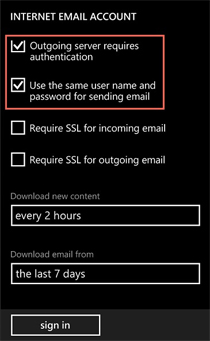
Step 12. Ensure that Outgoing server requires authentication is checked.
Click on Sign in. And now you are ready to receive and send mails. |
|
 |
|
|

 07971190770